Customize your notifications!
👋 Hey, you haven’t set your favorites yet. Hit ‘Star’ to deal with it anytime.


This material was created with the support of our Patrons. You can support us!
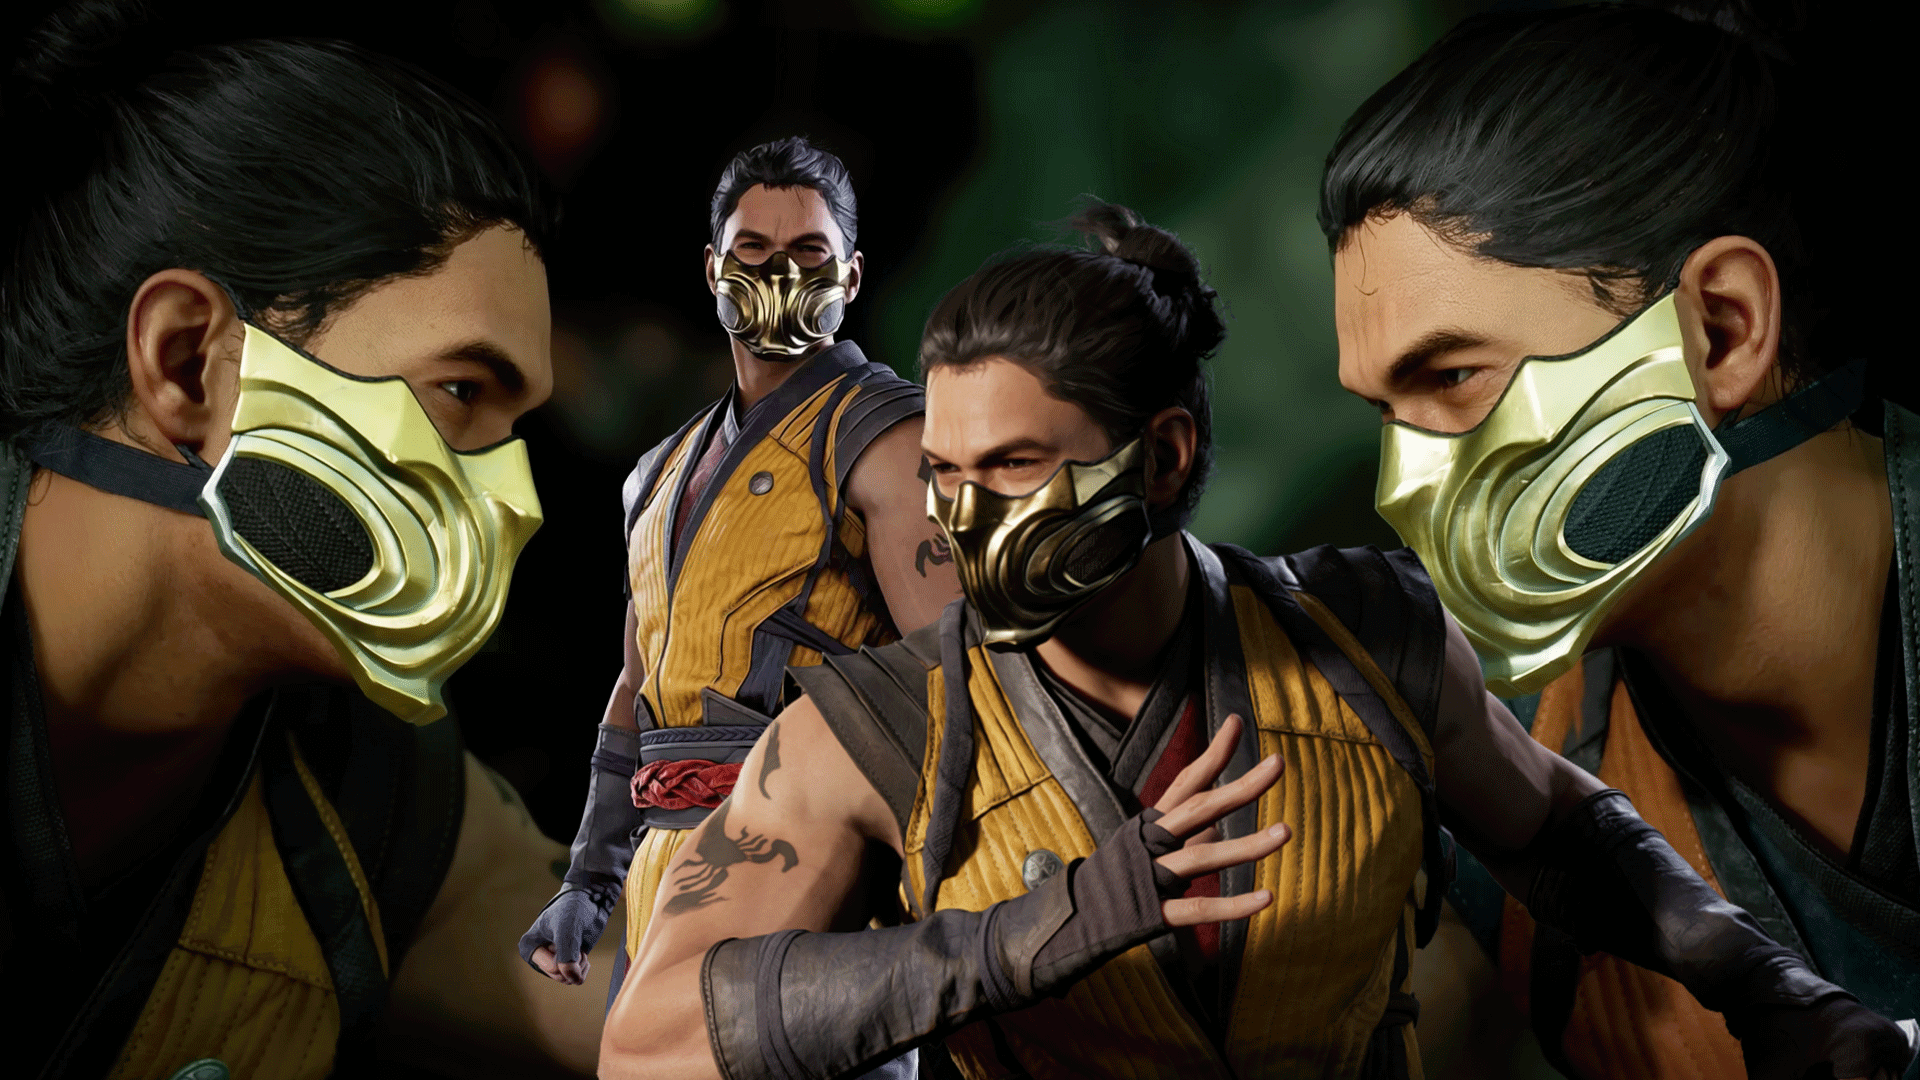
Become a PatronThis is everything you will need to master this incredible ninja in Mortal Kombat 1
Scorpion in Mortal Kombat 1 has shifted from its anti-zone archetype into a more well-rounded fighter, though not one for up and close all the time. His pokes have decent range and he has a good number of options at the mid-ranges, so you can't go wrong with wanting to control neutral with him.
Most often, you will find yourself wanting to condition opponents, using your wide toolset of normal and special moves to take the initiative and kickstart combos. Speaking of which, you do have a nice selection to choose from, but you have to be mindful of gaps with many of his combos.
Scorpion is also a character that very much leans on his Kameos to be able to shine, we'll go into more detail as to which ones are best, but just know that this ninja does not work alone. Speaking of not working alone, You can also see how a top NRS competitor uses Scorpion with this guide on our YouTube channel made by AVirk13.
SCORPION guide by [ AVirk13 ] | Mortal Kombat 1
In this text guide, we will walk you through the basics of Scorpion, so feel free to stay here and learn the basics with us before jumping on the Kombat League.
MK1 Command Inputs
Swipe
Scorpion's Gameplan & Specials
Scorpion is a fairly strong character, but one you will need to really focus on to get the most out of the ninja. His lack of strong mids means you will have to contend with high moves that a smart opponent can duck. Even with your teleport, you will have to be mindful of zoners that figure out how to beat you.
You should make an effort to master the Standing 1 into a back dash, S1 BB in notations, as this will be one of the more reliable ways to open up opponents. S1 gives you the time and spacing you need to then follow up with a punish if they choose to press buttons after they block the S1. Another good normal here is S2, as it has great range, though be warned, it is a high.
The second component of his close combat is to turn those high moves in your strings into traps. For instance, in F3,2 the second move is a high, and you can condition your opponent that you will always finish that string. Once they take the bait, stop after F3, block low for their poke D1, and then take the initiative again with a string, throw, more pokes, etc.
At longer ranges, you can try using your spear, BF1, as a way to close the gap. As noted before, teleport BD3 is good, but it is also very dangerous against opponents that practiced against it.
Spear
Starting the lineup of specials is spear BF1, a classic Mortal Kombat move. Not a lot of complicated thinking is needed to use it. It's a great combo tool, and its amplified version deals more damage and turns it into a mid instead of a high.
Blazing Charge
Coming in as BF2, a side switching forward mid, though one with the expectedly terrible on block frame disadvantage. Its amplified version gives it armor, making this not a terrible option if you want to cut through the final gap on a projectile-heavy character. However, it is also not very far-reaching, so be careful not to be left stranded in the middle of the screen with a whole lot of frames to recover.
Kyo Snag
An air move that has two different inputs depending on the distance with it, either BF2 for the far-reaching one or DB2 for the closer one. On its own, not that great, though you can certainly use it to finish off some simple combos. Its amplified version can allow you to extend the combos further too. Just keep in mind that if used up close to your opponents in the air it won't deal as much damage.
Twisted Kyo
Twisted Kyo, executed via DB2 while on the ground, can be a great chip damage tool in the last few seconds of a round. However, once amplified, it can become a useful tool with combos as it becomes unblockable if part of one, dealing its full damage and a little extra. However, if blocked, you will again swim in the deep end of minus frames.
Flame-Port
There are not too many secrets to the classic DB3 move, Scorpion teleports behind their opponent, it can be done on the ground or in the air, and canceled by double tapping down. The biggest issue when trying to recommend its use to you is that it is a high, which makes it very easy to duck under if you see it coming. Its air version is slightly better, and when amplified it is a key part of his combo kit, but on its own, it very much lacks value.
Devouring Flame
This ranged BF4 attack will target your opponent and damage them on the ground as a low attack. It can be quite good when used sparingly, as it deals a respectable amount of damage when it lands. Its amplified version is also quite good, adding damage over time on top and making it unblokable.
Specials Table
| Name |
Input | Tips |
| Spear | BF1 | Best used as part of combos, but also decent at range to cut down the distance. |
| Enhanced Spear | BF1+ AMP | Extra damage, is not as useful in combos considering it costs 1 bar. |
| Blazing Charge | BF2 | Dangerous but it can help sometimes. |
| Enhanced Blazing Charge | BF2 + AMP | Don't spend a bar on this unless you really need the armor. |
| Kyo Snag | J.BF2 / J.DB2 | BF for Far, DB for Close. |
| Enhanced Kyo Snag | J.BF2 + AMP / J.DB2 + AMP | Good way to extend air combos until you practice with Flame-Port. |
| Twisted Kyo | DB2 | Good for chip damage on a pinch. |
| Enhanced Twisted Kyo | DB2 + AMP | Good to end combos with as it is unblockable. |
| Flame-Port | DB3 | It's a high, so be careful to not make it too obvious. |
| Enhanced Flame-Port | DB3 + AMP | Better, and cancelable, especially good in the air to extend combos. |
| Devouring Flame | BF4 | A nice skill check on the neutral, if they are not ready to block low you get free damage. |
| Enhanced Devouring Flame | BF4 + AMP | Good for Damage over time as an unblockable, if the round looks to end on time, throw one of these out. |
Swipe
Scorpion's Best Kameos
On this front, whatever you pick here will need quite a bit of lifting to help Scorpion. Key picks are Sektor & Scorpion.
Sektor will provide you with a safety net at longer ranges. Either to make teleport/spear safe or just to keep opponents away and play a more zoning-oriented system. Scorpion for his part allows you to tag on more damage in your combos, almost like a glass-cannon approach.
More broadly, you want to target kameos that can make your F3,2 high safer, be it by including an overhead attack, as is the case with Scorpion and Sektor, or by allowing you to use your slower startup moves like BF1 and DB3 with Sektor's missile.
Some other Kameos that can can fit that description include Kung Lao, Sub-Zero, Cyrax, Frost, and Jax.
Sektor (Kameo)
Scorpion (Kameo)
Kung Lao (Kameo)
Sub-Zero (Kameo)
Cyrax (Kameo)
Frost (Kameo)
Jaxx Briggs (Kameo)
Scorpion's Bread & Butter Combos
Easy
- F3,2, 4, BF1, S3,3, DB2
- 2,1 BF1, F3,2, S4, BF1
- 2,1, BF1, F3,2, F3,2, F3,2, S4, BF2
- 2,1, BF1, F3,2, F3,2, j.f1,2, DB2
- B2, DB3, 1,2, BF1, 3,3, DB2
Normal
- F3,2, F3,2, F3,2, S4, BF1, F3,2, 1, BF1
- S2,1, BF1, F3,2, F3,2, jf.1,2, DB2, KAMEO, S4, BF2
- Use Scorpion Kameo
- S2,1, BF1, F3,2, F3,2, jf.1,2, DB2(AMP), S1, DB2, KAMEO, S4, DF2
- Use Scorpion Kameo
Hard
- F3,2, jf.1,2, DB3(AMP), s1,2, DB3(AMP), DB2(AMP), s1, DB2, KAMEO, BF1, S3,3, F-KAMEO, B2, BF2
- Use Scorpion Kameo
This material was created with the support of our Patrons. You can support us!
Become a Patron1