Customize your notifications!
👋 Hey, you haven’t set your favorites yet. Hit ‘Star’ to deal with it anytime.


This material was created with the support of our Patrons. You can support us!
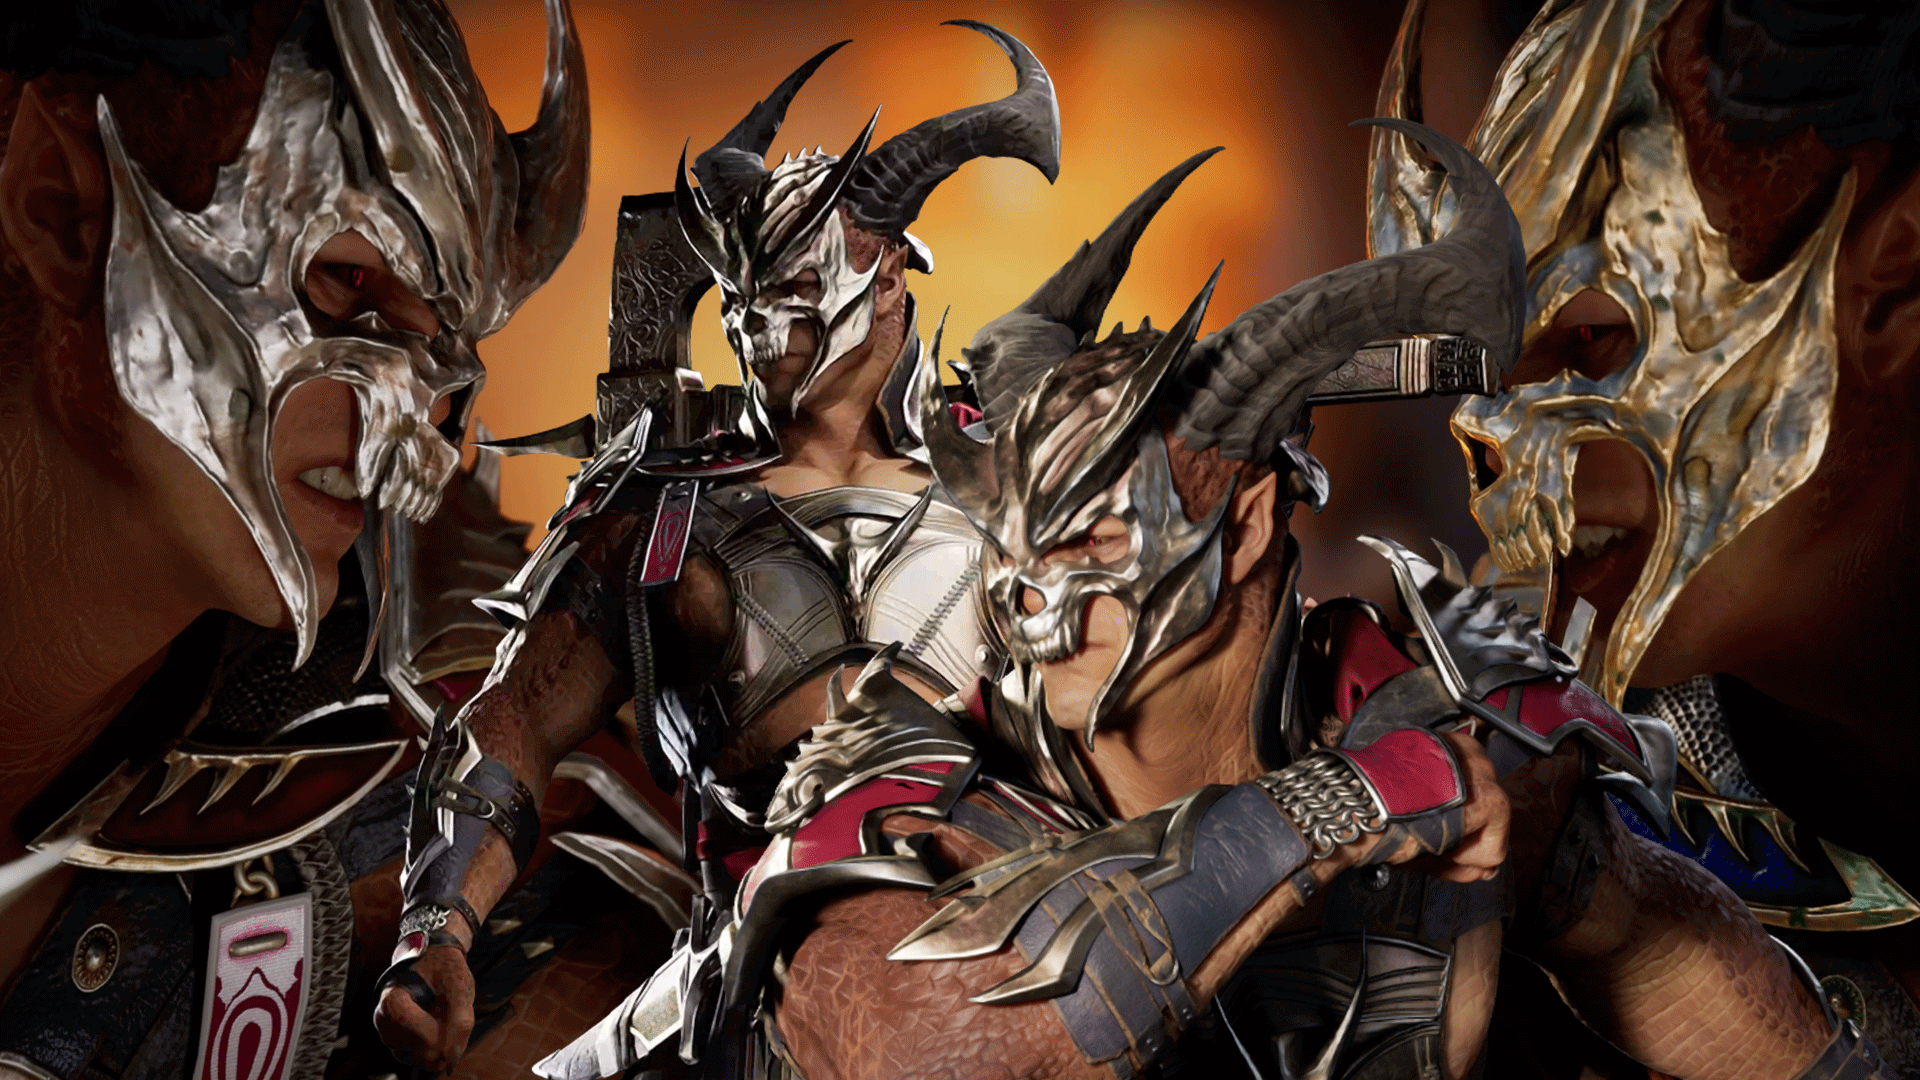
Become a PatronRock up your opponents hard with the one and only Outworld General Shao
General Shao is a very compelling archetype of a fighter in the Mortal Kombat 1 roster. Visually, he is a towering figure among the cast, and many of his moves lean heavily on the brutality of Outworld Kombat. On a deeper level, however, you can begin to appreciate the complexity and exciting gameplay his axe brings to the table, well, floor most likely. Mastering your approach in both stances will reward you with not just wins but cool-looking ones at that.
If you want to learn from the best, you can check out our collab guide with pro player VideoGamezYo, who went into a lot of detail as to how you can get the most out of the fearsome general.
General Shao guide by [ VideoGamezYo ] | Mortal Kombat 1
However, this text guide is intended to give you a wider scope, and teach how to work up your way up with Ashrah so you can start taking names in Kombat League.
MK1 Command Inputs
Swipe
General Shao's Gameplan & Specials
Shao is somewhat similar to MK11's Shao Kahn, primarily due to his forward dash range and solid pokes. Shao's S2 is a handy tool, as it is 0 on block, has excellent range for a standing 2, can almost be spammed out at a safe distance, functions as an anti-air, and has good conversions overall. The other pokes available are D4, D3, B2, and B1. You want to use those to open up your opponent from a safe distance. Standing 2, in particular, will be your key to special cancel from or to go for the whole S2,2,2 string.
You want to focus on whiff punish and neutral base fights. Shao lacks the mids to rushdown his opponents. Stay at the range of your best buttons, including your DB4 special, which once you get them into the corner, you can spend a bar to make it a launcher and kick off a combo.
You can also use your axe to create mind-game situations since the slam is a low, unless the opponent is standing on it, in which case it becomes an overhead again.
You want to control the area around you, stay at that sweet spot distance from your opponent, where you can punish their whiffs, and take your turn on the fight. If they are letting their defense falter a bit, then you want to push forward and smother them into the corner.
Dark Energy
A straight-up buff to your axe attacks. It comes out with DF1 and lasts for a few seconds. By amplifying it, you can add a bit more time to it. It is a 45F recovery move, so you should ideally use it only after a hard knockdown so you don't risk getting poked or punished.
Devastator
DB3 is a solid combo ender, has a lot of damage, is a knockdown, and reaches pretty far. It is a high and a 10F start-up at that, so it's not the best when up close and looking to take your turn. When amplified, it can become quite threatening. First, it gains armor, and if the armor is not broken during it, you can immediately cancel it into Power Strike.
Death Quake
Although a risky tool, DB4 also gives you a lot of flexibility and particularly damage. In its natural state, it is a full-screen low, albeit a 40F startup one, but you can also amplify it to convert it into a launcher, which has a natural combo follow-up if up close.
Power Strike
DF4 will plant your axe to the ground, creating an overhead attack with a knockdown as well, and lead into the no axe moves set and specials. If you are feeling greedy, you can also amplify it to add more damage to it.
Klassic Kahn
Like the Devastator, this DB3 sees Shao throw a high knee that, on hit, launches opponents into the air and opens them up for a combo. Amplifying this move will just mean adding a pretty chunk of damage to it.
Treehopper
Keep in mind that to use DF1 you will need to be standing close to the axe in the first place. But this move allows you to regain the axe while also dealing a nice amount of damage to your opponent. You can also amplify it to add armor and even more damage to it.
Reverse Treehopper
With DF2, Shao throws down his opponent into the axe, hinting you need to be close to the axe to do this, and sweeps them to either side with it. Worth noting that you can hold back if you want to side-switch with this move. You can also amplify it to once again add armor and damage to the move.
Axe Quake
DB4 allows you to bring the axe up and quickly down into the ground, pounding it and causing both an overhead, with the axe itself, and a low attack, the quake after. Amplifying it is not really that useful aside from giving you some extra frames of advantage on hit.
Specials Table
| Name |
Input | Tips |
| Dark Energy | DF1 | If you have the frames, you can try buffing yourself, it can be useful if you need to win via pokes. |
| Enhanced Dark Energy | DF1(AMP) | Besides the novelty of it, there is no reason to spend a meter with it when you could spend it on combos. |
| Devastator | DB3 | Great way to end combos. |
| Enhanced Devastator | DB3(AMP) | Armored, it is useful if you just want to skip neutral or close out a tight game. |
| Death Quake | DB4 | Strong check versus zoning opponents. |
| Enhanced Death Quake | DB4(AMP) | On hit it launches, so a nice initiator if you need on a pintch. |
| Power Strike | DF4 | You need to get rid of that Axe somehow. |
| Enhanced Power Strike | DF4(AMP) | Make that even more painful. |
| Axe Recall | DF4 | And you might need the axe it back from afar. |
| Klassic Kahn | DB3 | A good combo extender. |
| Enhanced Klassic Kahn | DB3(AMP) | Add more damage to it and gain armor. |
| Treechopper | DF1 | Bring your axe back and deal strong damage. |
| Enhanced Treechopper | DF1(AMP) | Deal even more damage and be armored for it. |
| Reverse Treechopper | DF2 | Part of your combo extender kit. |
| Enhanced Reverse Treechopper | DF2(AMP) | Adds damage and armor. |
| Reverse x2 Treechopper | DF2(B) | Converts it to a side switch |
| Enhanced Reverse x2 Treechopper | DF2(B)(AMP) | Converts it to a side switch |
Swipe
General Shao's Best Kameos
Sorry, Reiko, you are General Shao's best Kameo in our hearts. More on topic, though, Shao's main goal with his Kameo assist is to create opportunities for him to use those meaty slow moves that would often be unsafe on block. To do this, he can lean heavily on characters like Sareena and Frost, making a number of his sweeps safe and helping him mount the pressure.
That does not mean more utility-focused Kameos don't have a place next to Shao, Sub-Zero's projectile barrier is a great asset when facing zoning characters, and Kung Lao's low hat is undeniably a great tool as well when seeking to pressure opponents with low-high mixups.
In the same vein as Kung Lao, Motaro's Teleport is also fantastic with Shao, as it allows him to continue combos off his overhead, extending them and tagging up a lot more damage to them.
General Shao's Bread & Butter Combos
Easy
- S1,2, S2,2, DB3
- S1,2, S2,2 DB3 (AMP) DF4, S2, DF2
- F1,2,2, DF4, S2, DF2
Medium
- S2,2 DB3(AMP), DF4, S2,2 DF2
- S2,2 DB3(AMP), DF4, S2,2,4, DF2
- F1,2,2, DF4, B3,2, B3,2, F4, DF4
- B2, B2, B2, B2, S2,2, DB3 (AMP), S2, L1
- Corner Combo
This material was created with the support of our Patrons. You can support us!
Become a Patron1