This material was created with the support of our Patrons. You can support us!
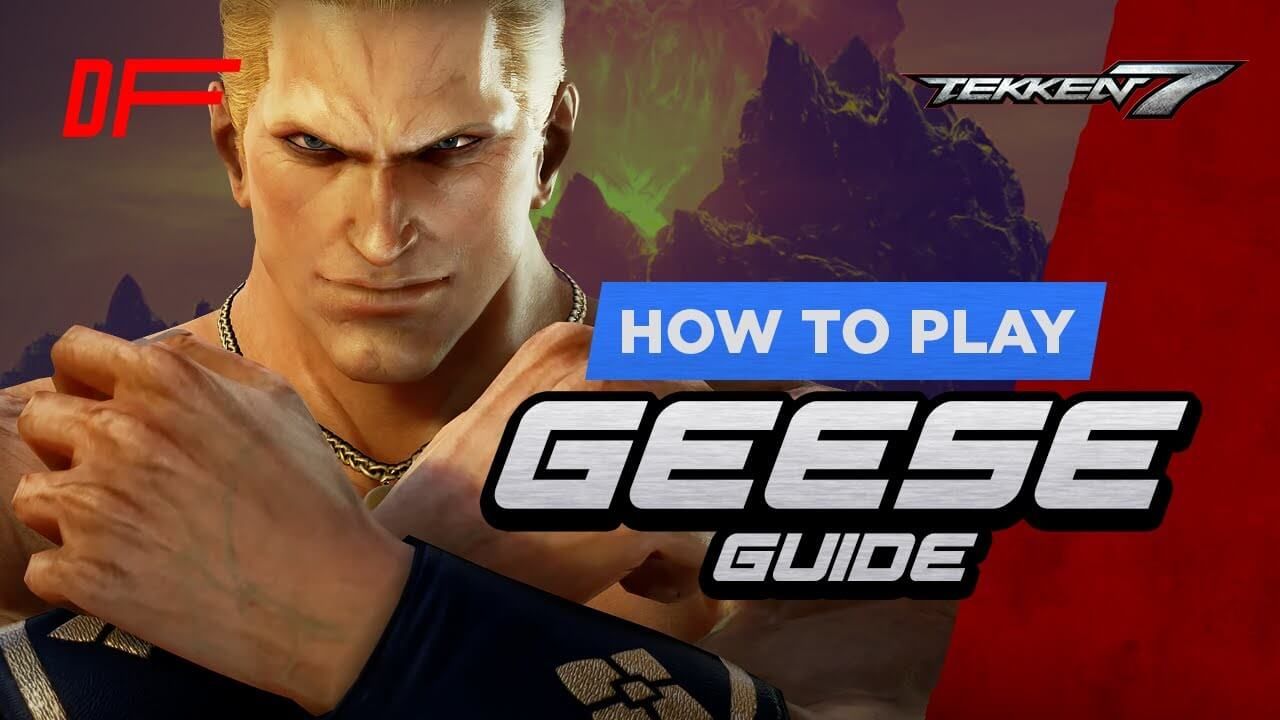
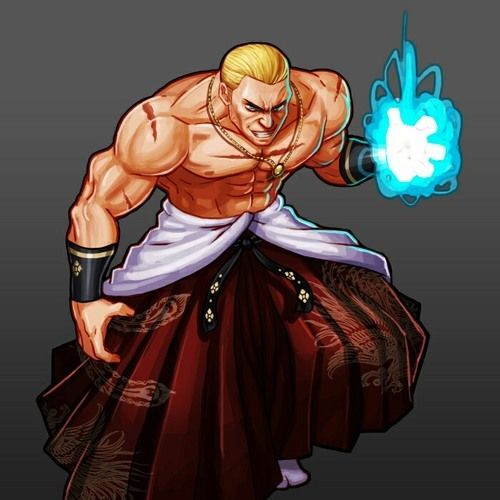
Become a PatronGeese Howard from the Fatal Fury and King of Fighters franchises. A formidable boss character in his own universe, he continues to be a total menace in Tekken, which led to several waves of nerfs that had some impact on the character.
However, Geese is still very much a beast, making him challenging to fight and worthy to main. To help you understand the character and everything he's capable of, we recruited the help of one of the best Geese players out there, Banana!
|
Tap Notation |
Hold Notation |
Tekken Move |
Playstation |
Xbox |
|
f |
F |
Forward |
|
|
|
d/f |
D/F |
Down & Forward |
|
|
|
d |
D |
Down |
|
|
|
d/b |
D/B |
Down & Back |
|
|
|
b |
B |
Back |
|
|
|
u/b |
U/B |
Up & Back |
|
|
|
u |
U |
Up |
|
|
|
u/f |
U/F |
Up & Forward |
|
|
|
N |
|
No directional inputs |
|
|
|
SS(L/R) |
|
Side Step (Left/Right) |
|
|
|
qcf |
|
Quarter-circle forward |
|
|
|
qcb |
|
Quarter-circle back |
|
|
|
hcf |
|
Half-circle forward |
|
|
|
hcb |
|
Half-circle back |
|
|
|
ch |
|
Counter Hit |
|
|
|
ws |
|
While Standing |
|
|
|
wr |
|
While Running |
|
|
|
1 |
|
Left Punch |
Square |
X |
|
2 |
|
Right Punch |
Triangle |
Y |
|
3 |
|
Left Kick |
Cross |
A |
|
4 |
|
Right Kick |
Circle |
B |
Character Overview
Geese is a very versatile character that can be played in a very straightforward and strategic way, but also has room for improvisation. After the latest patch, his game plan changed a little bit, but many things still remain the same.
Same as before, Geese is a character with many good counter hit attacks, pokes, and one of the best parries in the game. With some of these tools getting nerfed, the character needs to be played on the safer side, however.
Best Buttons
- Movement - Before talking about the attacks, it's worth pointing out that Geese has excellent movement with his sidewalk and backdash. Similarly to other 2D characters, he has an amazing jump as well.
- Cancelling - Important part of what makes Geese so strong is that many of his attacks can be cancelled into special moves.
- 1 - Geese has one of the best jabs in the game. Since he takes a step forward while attacking, it gives his jabs a great range. As with many other good characters, it also has extensions.
- SS3 - Good +4 low attack. Can be followed up with b3, which opponents can only interrupt with jabs.
- b3 - You i14 punisher and potential combo starter. While difficult, it can be hit confirmed with fast reactions.
- f4 - A CH poke with solid range that is better off being used at peak distance, as it is easy to punish otherwise.
- f2 - Similarly long range poke that can be hit confirmed into f2,3.
- df4, 1,2 - Some of your better mids.
- 2 - Quick special mid that is notable as one of his combo starters.
- ff2 - Plus on block wallbounce.
- hcf 1/2 - The Reppuken projectiles. Can be done in the air with qcb input.
- hcb 3/4 - Power crush special move that can serve as a mixup. While the high version is safe but duckable, mid version will hit ducking opponents and is -14.
Special Meter
Much like Akuma, Geese doesn't just have meter, but also some mechanics from the KoF series. Hitting the opponent and getting your attacks blocked will allow you to build the meter, gaining up to 3 stocks. Once you have some meter, it gives you access to supers, EX special moves, and MAX mode.
For example, instead of hcb 4 you can do hcb 3+4, making it a safe and damaging power crush. You also gain access to the MAX mode parry, which covers both high and mid attacks. To avoid wasting meter, you will have to know when is the right time to use it and how to apply it in combos.
With the MAX mode cancel, you can use your meter after: 1, 2, d4, WS1, f1, b3,2, d3,1, f3, or f2. Generally, you will use this cancel after confirming that your attack landed, and then use MAX cancel to convert those hits into combos.
With 2 stocks of meter you can also do supers like Raigou Reppuken (qcfx2 1+2), which can be used a part of the combo or as a way to chip out your opponents when they're very low on health. Your other option is Raging Storm (db, hcb, df 1+2), which can be used for similar purposes but is also a potent frame trap tool.
There are no moves that use 3 meters, but having 3 stocks allows you to execute some extremely damaging combos.
Rage Arts
Geese doesn't have a Rage Drive but has two Rage Arts, one that is typical for Tekken and one that replicates his Super Special Move from the SNK games. The first one is an unblockable high, while the second one is Deadly Rave. Unlike most other rage arts, this one requires extra player input to execute the follow-ups, akin to the classic Tekken 10-hit combos.
Staple Combos
- b3,2, MAX, d4,f3, b4,4 S!, dash, 2,f1,hcb3
- b3,2, MAX, d4,f3, d4, dp1 S!, dash, 2, hcb3
- b3,2, MAX, d4,f3, d4, f1, dp1+2 S!, dash, 2, hcb3 (advanced wall carry combo)
- b3,2, MAX, d4,f3, d4,f3, dp1 S!, dash, 2, hcb3
- b3,2, MAX, d4,f3, d4, dp1+2 S!, dash, 1, dash, 1,qcb3
- b3,2, MAX, d4,f3, d4, f1, dp1+2 S!, dash, RA
- b3,2, MAX, d4,f3, d4, f1, dp1+2 S!, dash, RA (1,2,4,1,4,1,3,2,1+2)
- 2, f1, MAX, 2f1, dp1+2 S!, jump 4, microdash, 2, f3, 1,2,1,1
- 2, f1, MAX, 2f1, dp1+2 S!, dash, d4,f3, dash, 1, dash, 1, dash, 1, dash, 1,qcb3
- 2, f1, MAX, 2f1, dp1+2 S!, d4,f3, d4, hcb3, dash, d4,f3, RS, d2,4(or 1+3) (Raging Storm combo)
- 2, f1, MAX, 2f1, dp1+2 S!, ssl, d4,f3, d4,f1, qcb2,3, qcfx2 1+2, wr1 (Raigou Reppuken combo for when there are no walls)
- Wall bounce combos:
- b2, uf2, 1,1, d4,f1, qcf2
- b2, uf2, d4,f3, RS, d4, qcf2
- b2, 1f3, RS, d1+3(or 2+4)
- Command grab when against the wall:
- b1+2, d1+3(or 2+4)
- 1,qcb1, RS
- 1,qcb1, RR
Strengths and Weaknesses
Geese has great movement and rewards smart, strategic playstyle. He has great punishes, pokes, and tracking, though other characters with strong movement can be a problem.
When it comes to weaknesses, his range is not great, so he mostly relies on applying pressure while staying in your face.
This material was created with the support of our Patrons. You can support us!
Become a Patron


