Customize your notifications!
👋 Hey, you haven’t set your favorites yet. Hit ‘Star’ to deal with it anytime.


This material was created with the support of our Patrons. You can support us!
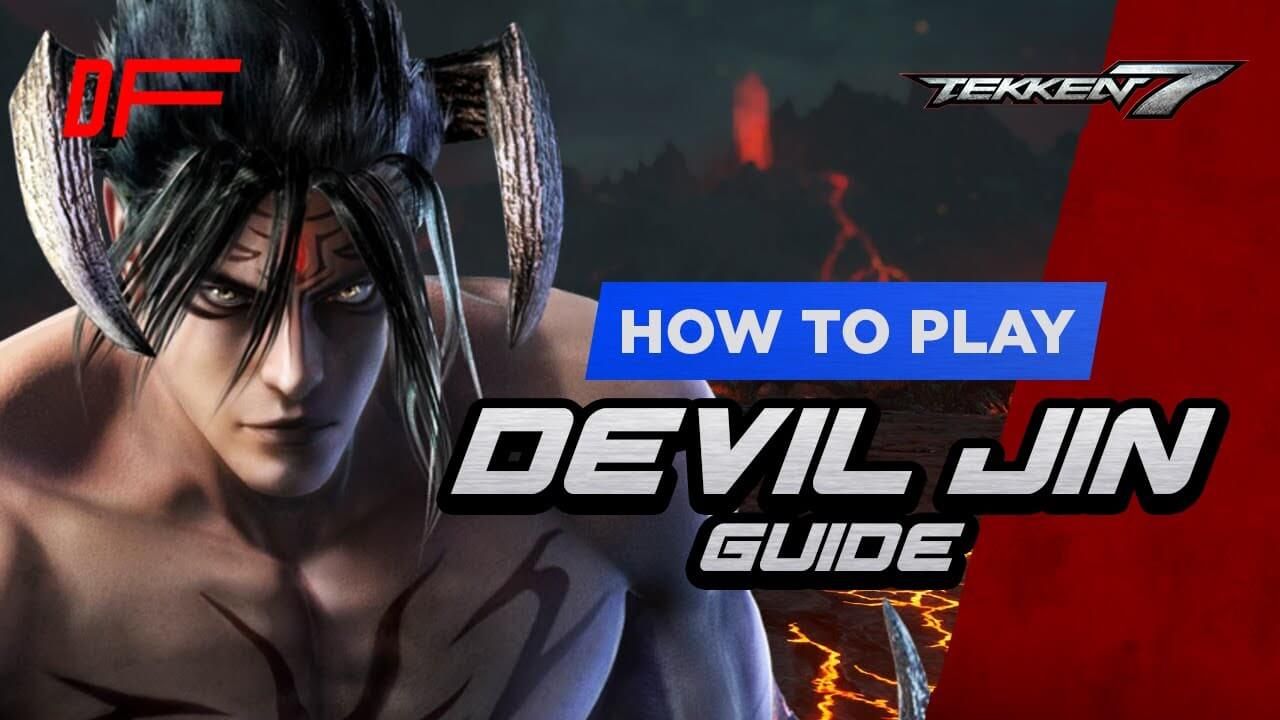
Become a PatronTime to experience the strongest Mishima!
Devil Jin has been hailed as the strongest Mishima since the release of Tekken 7. With his well-rounded kit, Devil Jin becomes a wrecking ball in the hands of experienced players like Qudans. While he's strong, he's also demanding, so if you want to make the most out of him, there will be quite a lot to learn.
To help you learn the character, we got help from Landon D, a very strong Devil Jin and Law player. He will help you to both understand the character and give you some pointers on what you need to do without getting overwhelmed.

DEVIL JIN guide by [ Landon D ] | Tekken 7 | DashFight
|
Tap Notation |
Hold Notation |
Tekken Move |
Playstation |
Xbox |
|
f |
F |
Forward |
|
|
|
d/f |
D/F |
Down & Forward |
|
|
|
d |
D |
Down |
|
|
|
d/b |
D/B |
Down & Back |
|
|
|
b |
B |
Back |
|
|
|
u/b |
U/B |
Up & Back |
|
|
|
u |
U |
Up |
|
|
|
u/f |
U/F |
Up & Forward |
|
|
|
N |
|
No directional inputs |
|
|
|
SS(L/R) |
|
Side Step (Left/Right) |
|
|
|
qcf |
|
Quarter-circle forward |
|
|
|
qcb |
|
Quarter-circle back |
|
|
|
hcf |
|
Half-circle forward |
|
|
|
hcb |
|
Half-circle back |
|
|
|
ch |
|
Counter Hit |
|
|
|
ws |
|
While Standing |
|
|
|
wr |
|
While Running |
|
|
|
1 |
|
Left Punch |
Square |
X |
|
2 |
|
Right Punch |
Triangle |
Y |
|
3 |
|
Left Kick |
Cross |
A |
|
4 |
|
Right Kick |
Circle |
B |
Swipe
Best Buttons
f,n,d,df+2 or EWGF - Your all-purpose tool and an amazing normal-hit launcher that is +5 on block and tracks to your left side. The only downside is that it requires a just frame input. If you fail it, you will get a normal version that is -10 on block.
f,n,d,df+4 or Hellsweep - This is why Devil Jin is Devil Jin. It's a normal-hit low launcher that enables some damaging combos and taking opponents to the wall. As strong as it is, the hellsweep is extremely minus on block and doesn't track to DJ's right side. Because of this, you will need some mids to support it.
ff2 - Safe and very rewarding KND mid. Even if it gets blocked, it's only -8, and on CH, it's almost guaranteed to get the opponent to the wall. The pushback on block also leaves in a good position.
bf2 - Close-range mid that allows you to track people.
uf4 - This mid is weaker after the recent patch but still very strong at the wall. If you need a longer-range mid, uf4 is a good choice.
WS2 - Solid mid launcher that tracks to Devil Jin's weak side. It's punishable at -12, but it's important that you learn how to execute this move, as it's a common part of hellsweep combos.
df1, ws4, 1 - Even though it's 3 different moves, they generally serve the same purpose. They're generic but useful pokes that leave you at good frame advantage. Landing any of them will allow you to start your offence.
b4 - Frame trap for the aforementioned 3 moves. Since it's a safe mid CH launcher, you can get a lot of damage if opponents try to challenge you and fall for the frame trap.
d3 - This low might not look threatening, but it's important to have a low that's not extremely punishable. Useful for chipping away at your opponent.
db2 - This low has some utility with its high crush, making it good against opponents who throw out lots of highs. The CH knockdown also guarantees a laser follow-up with d1+2. If you land the CH knockdown at the wall, you can go for a WS2 right after to get a wall break or balcony break.
Gameplan
Despite high execution requirements, Devil Jin has a relatively simple gameplan. When moving around in neutral, you want to occasionally wish for a launch with EWGF. Once you get in on your opponent and land either 1, df1, or ws4, you can frame trap them with b4 to catch them mashing. This will teach them not to mash, so next time you land one of those 3 moves, you can go for a mixup between hellsweep and wavedash into ff2. If you're really good, you can also do wavedash into EWGF when they might try to hit you.
It's best not to complicate things too much. You run up and either hit them with a mid or low. Even if your sweep gets blocked, it's not all bad since it allows you to learn their timing for blocking low and adjust accordingly. If they're afraid of the mix and start mashing, you can catch them with an EWGF. Rinse and repeat.
While DJ is not really a string character, there are some strings of his that will be useful to you:
1,1,2 - Not only is it your i10 punish, but it's also a hit-confirmable knockdown from a jab. To catch people mashing, you can do the 1 jab and then follow up with 1,1, then confirm or stop accordingly.
bf2,1,2 - This is a great rekka to stop people from mashing after bf2. If your 2nd hit lands, the 3rd one also becomes guaranteed. You have to be careful, however, because the final hit can be stepped or reversed by certain characters.
Combos
With Devil Jin, you will mostly use 3 different routes off of each launcher:
- EWGF > ff4 > ff3,1~ff > 2 > f3+4
- CD4 > 1+4 > > 2 > b2,3 > b2,3 (to make sure 1+4 is consistent, keep holding 4 after hellsweep and then press 1)
- CH b4 > df2 > 2 > b2,3 > bf2,1,d2 (or bf2,1,2)
Wall Combos
- w! > bf2,1, (delay) 2
- w! > 1,2 > b4
Strengths and Weaknesses
Devil Jin's strengths also happen to be his biggest weaknesses. EWGF is his best move, but the execution requirement can sometimes decide the game. He has plenty of big and strong moves, but they also require commitment. You have to go in or go home. With his mixups having roughly similar timing, you also have to be very manual with them and adjust your pace according to your opponent. With his lacking defence, you will also need good defensive skills if you don't want to rely on risky panic moves.
Overall, DJ is a double-edged sword of a character, so you will need some good judgment and experience to utilize him properly.
This material was created with the support of our Patrons. You can support us!
Become a Patron1