This material was created with the support of our Patrons. You can support us!
Become a PatronTable of Content:
- Mak's Bob Guide
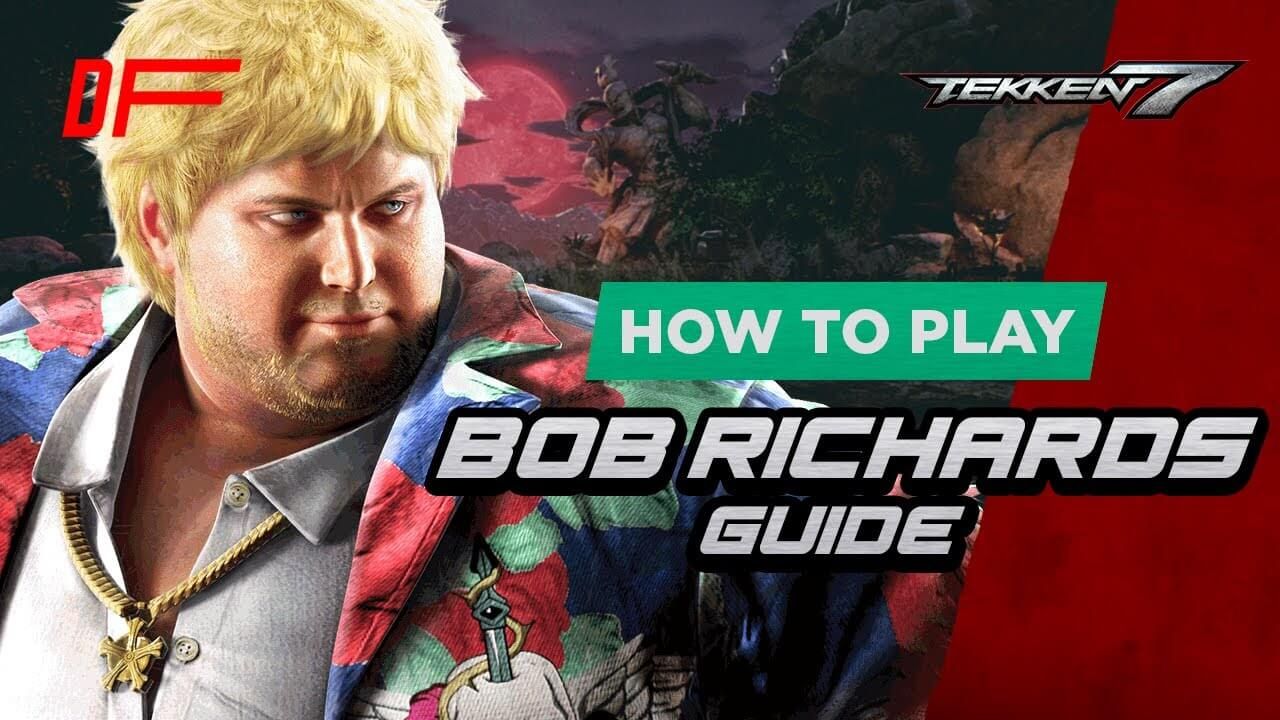
One of the charismatic newcomers from Tekken 6, Bob Richards is an American fighter who practices freestyle karate. His unusual approach to fighting puts more emphasis on weight but without losing any of the speed, making him distinctly different from the usual big-body character.
Mak is one of the best Bob players you can find, with plenty of history and accolades to his name. With his help, you'll be able to get the basics of the character and start your journey of mastering Bob.
|
Tap Notation |
Hold Notation |
Tekken Move |
Playstation |
Xbox |
|
f |
F |
Forward |
|
|
|
d/f |
D/F |
Down & Forward |
|
|
|
d |
D |
Down |
|
|
|
d/b |
D/B |
Down & Back |
|
|
|
b |
B |
Back |
|
|
|
u/b |
U/B |
Up & Back |
|
|
|
u |
U |
Up |
|
|
|
u/f |
U/F |
Up & Forward |
|
|
|
N |
|
No directional inputs |
|
|
|
SS(L/R) |
|
Side Step (Left/Right) |
|
|
|
qcf |
|
Quarter-circle forward |
|
|
|
qcb |
|
Quarter-circle back |
|
|
|
hcf |
|
Half-circle forward |
|
|
|
hcb |
|
Half-circle back |
|
|
|
ch |
|
Counter Hit |
|
|
|
ws |
|
While Standing |
|
|
|
wr |
|
While Running |
|
|
|
1 |
|
Left Punch |
Square |
X |
|
2 |
|
Right Punch |
Triangle |
Y |
|
3 |
|
Left Kick |
Cross |
A |
|
4 |
|
Right Kick |
Circle |
B |
Best Buttons
Jabs - jabs are an important part of any character's toolkit, but it's especially true for Bob thanks to having great range and many variations, such as 1,1, 1,4, 1,d4, 1,3, and 2,1. All of them start at i10 and can be used as punishment and the ones that end in highs like 1,1 and 1,4 will jail as well, so you don't have to worry about them ducking. Thanks to having great follow-ups, Bob can create hesitation in his opponents, allowing you to continue offense and create counter-hits with moves like df2 or 1,2,1+2.
df1 and ff2 - great pokes for when opponents might be stepping to your left. Both are safe mids that will track to the left side. You can also try using db3, a fairly slow but tracking low.
b2 and CD1 - for when enemies might step to the right side. You can go for the full b2,2 if you're confident it's gonna hit, but otherwise, the second hit can be ducked and punished. Meanwhile, CD1 offers a much higher reward on hit but can be more challenging to execute.
f4 - for the actual homing, you got this move, which is more suitable to be used up close. It's safe and will guarantee a b3 on hit, but since it's a high, it can be ducked.
Hellsweep - you do not want to not use this as a Bob player. While it's punishable on block and best used sparingly, but since Bob doesn't have too many great lows, you have to use Hellsweep to condition opponents into still being scared of you going low.
uf1+2 - even though it's -3 on hit, this move is great thanks to its hit-confirmable follow-ups, such as 1+2,4 or 1+2,1+2. Hit confirming them will be tough but is worth practicing.
f1+2 - Bob has one of the better power crushes. It's only i15, -13, and can go under highs.
bf1 - his backsway. Most backsways are fairly minus, while Bob's is only -12 and extremely evasive. You can do basic setups like jabs into backsways and get a big reward on hit.
Combos
- CD1, dash, CD1, df1, b2,2, d2,3, b3
- WS2,1, d2,3, 2, uf1+2,4 [Enders: 1,2, f, 1, or dash up 4,3,3+4]
- ff1+2, f4, ff3, df1, df1, d2,3, b3
- uf4, ff3, df1, df1, df1, d2,3, b3
- w! b2,2, d3+4
- high w! uf2,3,3+4, d3+4 (opponents might roll out depending on the angle)
Gameplan
Your mindset while playing Bob should be to stay at a range where you excel, and the enemy doesn't. Bob isn't that great upclose. Even though he has moves to deal with people up close, like the backsway and powercrush, he's better at mid to long-range thanks to his jab range, pokes, and get-in tools.
The goal is to keep the opponents at bay, annoy them, poke them out, and try to be more fundamentally sound. Then, when they get frustrated, you can blow them up with your keepout tools like CD1 and ff2.
If you want explosive damage and willing to take risks, you can go for mixups with the hellsweep as well.
Weakness
Bob doesn't have the best offense. He's better at staying away and focusing there. At close range, he doesn't really have any useful plus frame moves to keep up the pressure. The majority of his moves on block are also mediocre, even when not outright punishable.
This material was created with the support of our Patrons. You can support us!
Become a Patron


