Customize your notifications!
👋 Hey, you haven’t set your favorites yet. Hit ‘Star’ to deal with it anytime.


This material was created with the support of our Patrons. You can support us!
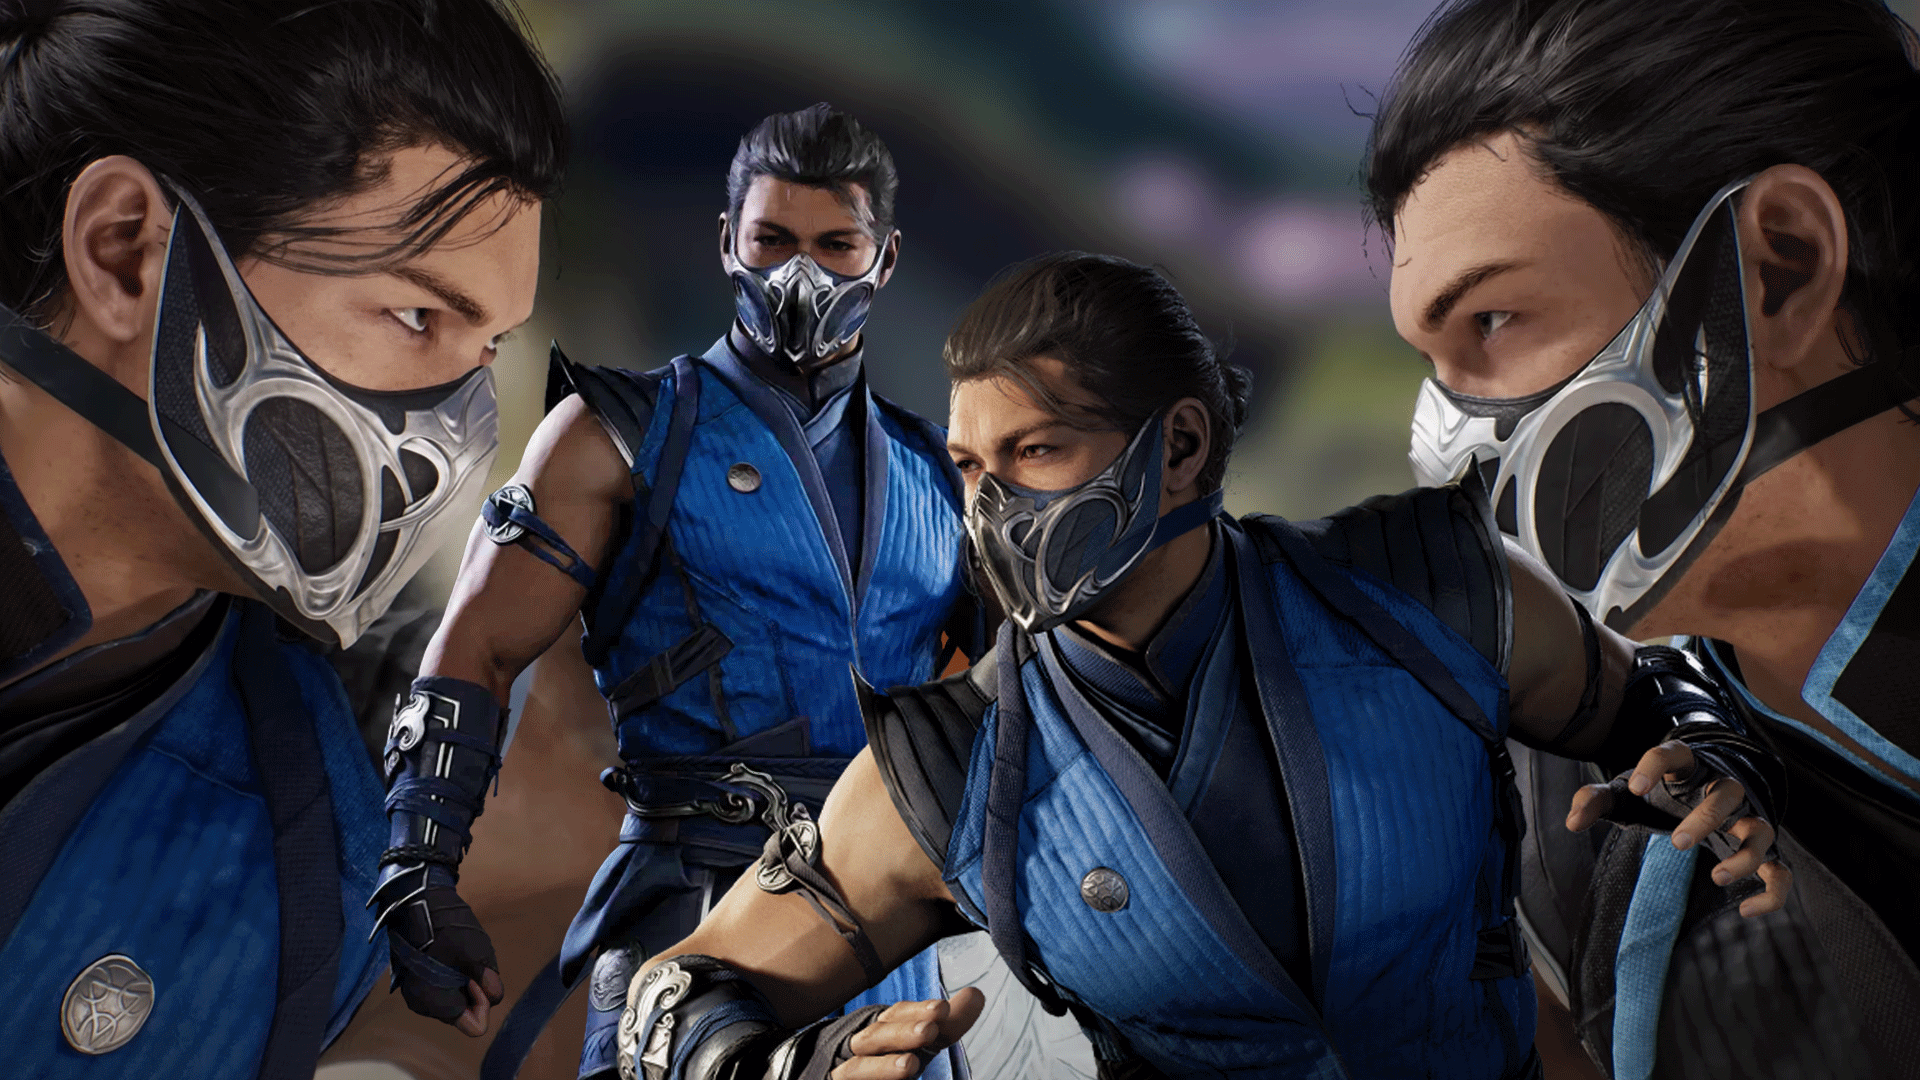
Become a PatronFigure out how to play Sub-Zero to his max potential with these tips and combos from beginners to masters
Sub-Zero's strength in Mortal Kombat 1 stems from his ability to use his full range of specials and normals, whether it is creating space with his zoning or cutting through it with fast-advancing moves and selecting your preferred playstyle based on which Kameo you bring with you into the match.
If you want a pro player to break down the character for you, you can check out our collaboration with Tom Brady below to learn how a top player in the NRS competitive scene tackles this character.
SUB-ZERO guide by [ Tom Brady ] | Mortal Kombat 1
However, this text guide is intended to give you a wider scope, and teach how to work up your way up with Sub-Zero so you can start taking names in Kombat League.
MK1 Command Inputs
Swipe
Sub-Zero's Gameplan & Specials
Sub-Zero can be somewhat of a high-maintenance fighter. Although he has several good strings, virtually all open you up for being reversed via armored moves. Picking up on this and blocking those attempts is difficult, but it ultimately drives Sub-Zero toward success. Your Kameo also plays a significant role in either helping you deal with that or, if you can handle that overhead cost to your concentration, getting the most out of the opportunities the style opens up.
You will want to use your two pokes to open up opponents. First, the good news is that both are pretty far-range, D1 and D3. Once you do, you can go into Sub-Zero's core strings S1,2 when up close in specials or throws and maybe a full combo. The other option is S2,1, which has a bit more range but is pretty tight at max range. You can also try to lean into F1,2; this is your mid-string, which is a good advancing move but also dreadful if blocked, so don't rely on it. Use it occasionally if you feel too far after a poke or want to punish a nasty whiff.
B2 is a high-risk, high-reward core for your combos. As an overhead launcher, it has a lot of potential uses, but its slowness can mean getting punished. It's a good idea to use a low poke before it, or even better if you can have a Kameo with an overhead and low option so you can get a combo off a Sub-Zero low with a Kameo overhead or B2 with a Kameo low to make it safe.
Ice Klone
With DB1, you create an ice clone of Sub-Zero, which lasts about a second. If the opponent touches it, they will freeze. You can do it on the ground or in the air; when amplified, it will leave a trail of clones. Remember that canceling into Ice Klone is unsafe; opponents can armor attack through it to punish you.
You should look to use Ice Klone to dictate the fight's tempo. Normal MK1 gameplay basics state that you will use some pokes and far-range normals to gain an opening or fish for a whiff after a block. But Ice Klones gives you, as the Sub-Zero player, a way to stop your opponent from simply advancing on you.
Ice Klone Charge
Technically, a projectile, BF2, sees you throw a clone out with a punch. It is a mid, so there is no way to duck under it. Although not excellent up close, it has several uses from mid-screen and further. First, it can negate other projectiles in its path, destroying both, so you don't have to trade with zoning opponents; you can cancel their projectiles out and close the gap. The Amplified version is even better, allowing it to destroy the projectile but keep going.
Ice Ball
DF1 gives you a high projectile to amplify to provide the same projectile-destroying ability as the amplified Ice Klone Charge. It won't combo off cancels from strings or hits unless you connect it via Kameos, so, for the most part, it serves as a shortcut out of zoning battles and projectile trades.
Ice slide
Ice Slide comes out with BF3. It is a great tool to close the distance to an opponent, even better on hit, as it deals a fair amount of damage. Depending on your Kameo selection, this may also open up the possibility of converting into a combo. You can also amplify the move, giving you a side switch and armor, making that conversion via Kameo slightly easier.
Deadly Vapors
Comes out with DF4. If done after a hit, it will freeze opponents for a short duration; amplifying it means the freeze lasts for longer. Outside of that, it will track opponents anywhere on stage and slow them on hit, with the amplified version doing it for longer. Although it seems somewhat weak, it can be an excellent choice to deal with zoners to slow the pace real quickly and react.
Diving Glacier
An air Special move using DB4. Most of the time, it is safe, and again, it helps drive right into zoners from a distance by threatening a full combo afterward.
Specials Table
| Name |
Input | Tips |
| Ice Klone | DB1 | Use to control space, condition opponents, and fish for cheesy freezes on button mashers. |
| Enhanced Ice Klone | DB1(AMP) | Creates multiple clones. |
| Ice Klone Charge | BF2 | Negates projectiles, which is great for cutting down the gap to zoners. |
| Enhanced Ice Klone Charge | BF2(AMP) | Destroys projectiles and then continues. |
| Ice Ball | DF1 | I can't really combo, but it is good to trade with Zoners. |
| Enhanced Ice Ball | DF1(AMP) | Like BF2(AMP), it will destroy projectiles in its way. |
| Ice slide | BF3 | Great to cut down the gap. |
| Enhanced Ice slide | BF3(AMP) | It can allow for some Kameos to combo off it. |
| Deadly Vapors | DF4 | If used after a hit, it will freeze opponents; on its own, it will slow them down. |
| Enhanced Deadly Vapors | DF4(AMP) | Adds extra slow. |
| Diving Glacier | j.DB4 | Good initiator |
| Enhanced Diving Glacier | j.DB4(AMP) | Gives you a ton of hit advantage. |
Swipe
Sub-Zero's Best Kameos
Although you have several options to use with Sub-Zero, three Kameos stand above the rest for good reason. Kung Lao and Goro, with Sonya close behind.
Goro and Sonya allow you to combo off the B3,4, S3,4, and BF3. Goro, for his part, goes a bit further, giving you a safe slide on the block. He also turns the unsafe and dangerous B2 into a safe move, though it can take a bit of practice to get the timing down.
Kung Lao gives you a similar ability to turn unsafe into safe moves. His low hat, for example, gives you the Low-Overhead mix we spoke about much earlier in the guide. Lao also has one of the fastest cooldowns in the game, so he is generally great.
Another option is to go with Cyrax, who has the ability to make cancelable specials safe, giving you another option when trying to open up opponents. He also has a launcher off his amplified throw. Finally, hitting the net can make it so that your projectile trade will be to your advantage.
You can also explore other Kameos; Sareena, Frost, and Sub-Zero are another set of kameos with a lot of tools that give Sub-zero an overwhelming advantage on things he already looked solid on, like anti-zoning or help make his unsafe approaches much more dangerous for opponents.
Goro (Kameo)
Kung Lao (Kameo)
Sonya Blade (Kameo)
Cyrax (Kameo)
Sub-Zero (Kameo)
Frost (Kameo)
Sareena (Kameo)
Sub-Zero's Bread & Butter Combos
Easy
- S1, S2,1, BF3
- B2, j.1,3,4
- B2, F1,2, BF3
- F1,2, DF4 (AMP), B2, B2, J.1,2, F1,2, BF3
Medium
- F1,2, DF4 (AMP), J.1, B2, B2, S4, DB1, J.3, S4, BF3
- B2, B2, j.2,1, S1,2, BF3
- B2, B2, j.2,1, DB1, j.2, S3, BF3
This material was created with the support of our Patrons. You can support us!
Become a Patron0