Customize your notifications!
👋 Hey, you haven’t set your favorites yet. Hit ‘Star’ to deal with it anytime.


This material was created with the support of our Patrons. You can support us!
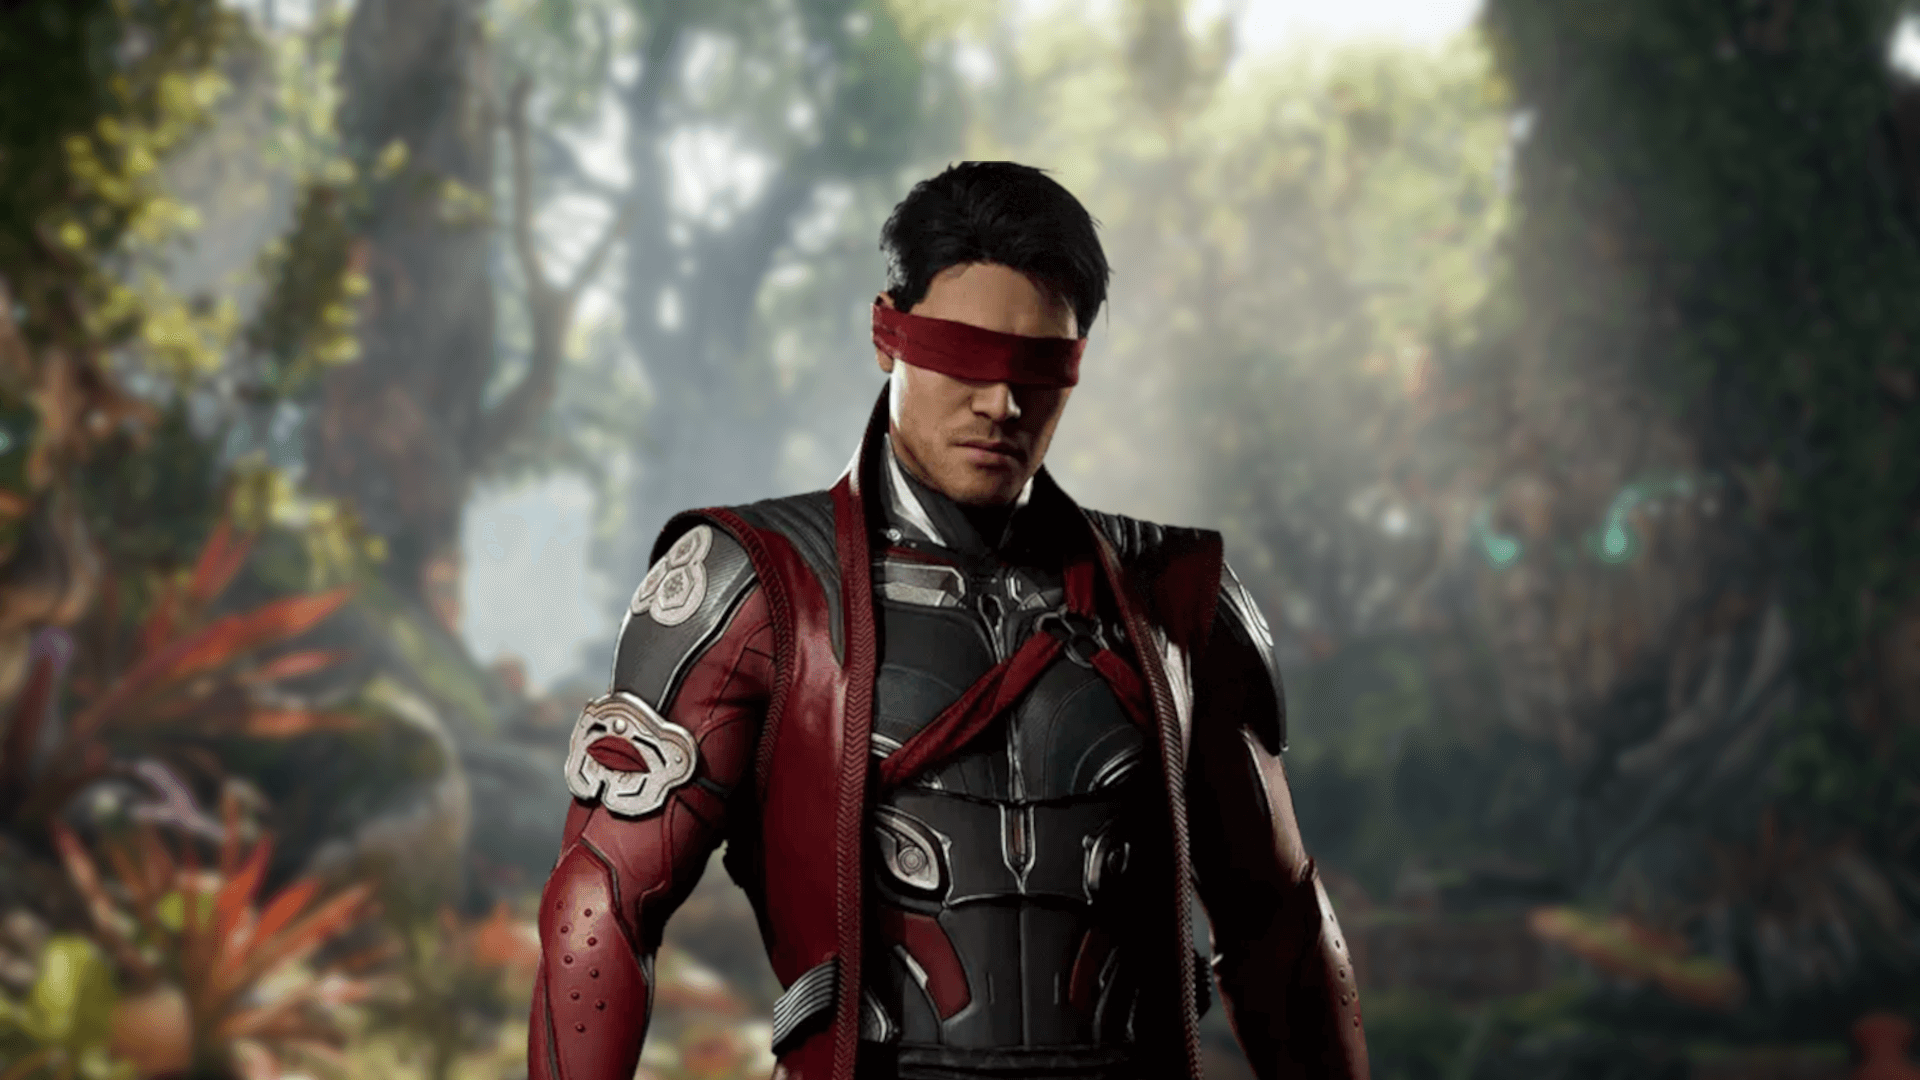
Become a PatronFigure out how to play Kenshi to his max potential with these tips and combos from beginners to masters
If you want a pro player to break down the character for you, you can check out our collaboration with K7 below to learn how a top player in the NRS competitive scene tackles this character.
However, this text guide is intended to give you a wider scope, and teach how to work up your way up with Kenshi so you can start taking names in Kombat League.
MK1 Command Inputs
Swipe
Kenshi's Gameplan & Specials
Kenshi can function as a single or pair of characters. When switching to Kenshi's Sento Stance, it is important to remember that Sento will perform moves based on your inputs. This is at the core of Kenshi's gameplay, as making the most out of Sento's damage is a key to victory.
He is also vulnerable; when hit he will go on cooldown for a short time. You can hold the Kameo input (R1 by default) to make sure you are only giving inputs to Kenshi and not Sento.
- Normal Stance:
- S1: Safe on block, and can hit confirm into the string or specials.
- S2: Leads to an overhead mixup.
- B2: A mid with good reach.
- D3: Good poke on account of its range.
- D4: Arguably his best poke, though it has some pushback, which is a double-edged sword.
- Sento Stance:
- S1: A single high attack.
- S2: double Mid.
- S3: Slow mid, but a launcher.
- S4: Mid, mid, high string with knockdown.
Specials
- Normal Stance:
- BF3: Great to cancel out of hits as it's a launcher.
- BF2: Decent range mid-check with incredible pushback on hit. Armored when amplified, but not safe up close.
- DB2: Overhead with different ranges.
- BF4: You can use it after pokes to create frame traps. It can also be charged.
- DB1: Switch to Sento Stance.
- Sento Stance:
- DB4: Side switch for Sento. When amplified it will instead leave Kenshi far and Sento close. Good Combo ender.
- DB2: Will recall Sento to Kenshi's location.
- DB3: A launcher, if Sento is not with you, you can amplify it for a combo.
Best Kameos For Kenshi
Kenshi's Bread & Butter Combos
Normal Stance Meterless
- S1,4,1, BF3, B2, DB2
- S1,4,1, BF3, S4, BF2
- F2,2, BF3, B2, BF2
- F2,2, BF3, S4, BF2
Sento Stance (without Sento)
- F1,1, DB3(AMP), J.1,1,2
- F1,1, DB3(AMP), J.2-, J.2, S1,2, DB3
Sento Stance
Sento's inputs are notated between brackets []. For example, Sento 2 is [2].
- [2], F2,2,1, [3], S4, DB3, [3], S4, DB4
- S2,1, F-SUB-ZERO, DB1, [2], F2,2,1, [3], S4, DB3, [3], S4, FB
This material was created with the support of our Patrons. You can support us!
Become a Patron0