Customize your notifications!
👋 Hey, you haven’t set your favorites yet. Hit ‘Star’ to deal with it anytime.


This material was created with the support of our Patrons. You can support us!
Become a PatronMortal Kombat 1 Ashrah Character Guide: All You Need to Know
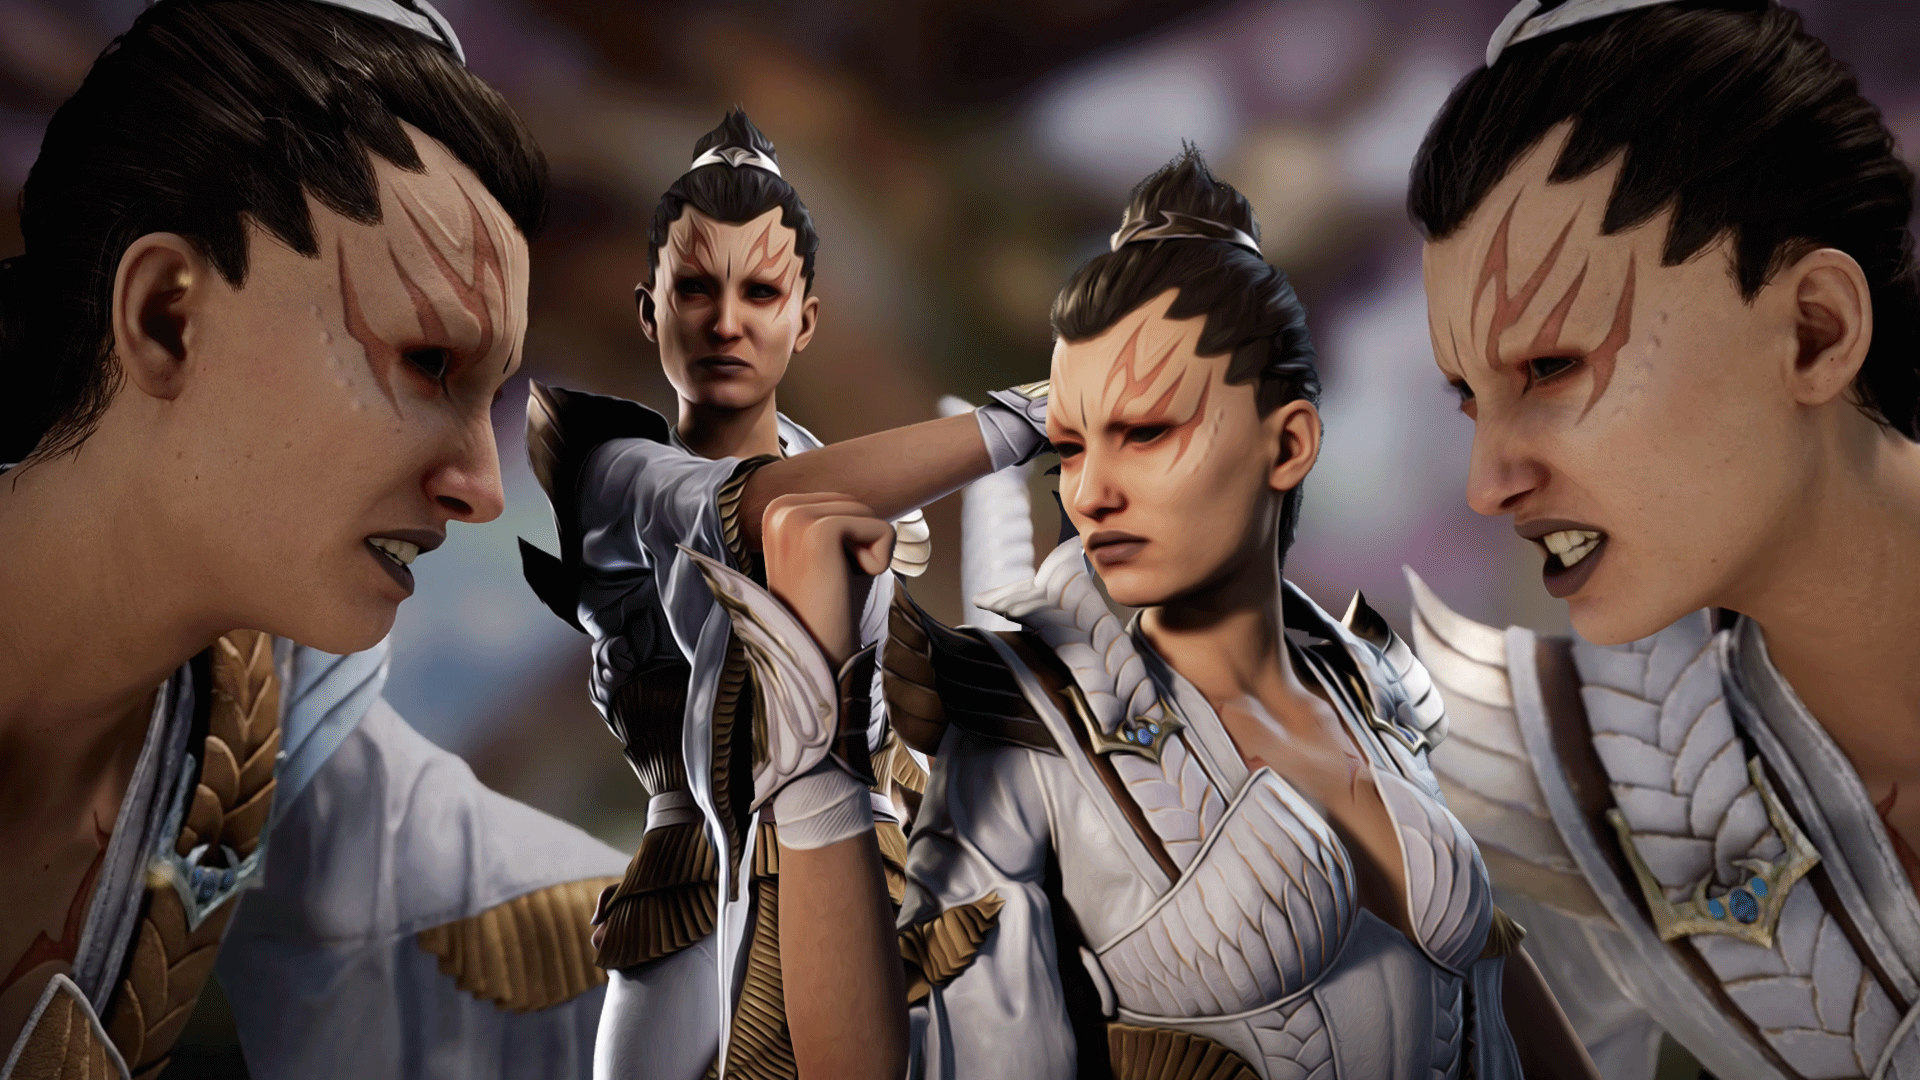
Ashrah has long been absent from a Mortal Kombat 1, but her return to the series in Mortal Kombat 1 has given her the perfect platform to showcase an exciting fighting style. She makes use of the neutral to control the space thanks to the excellent range of her normals.
Her Dark and Light stances also give Ashrah greater depth that you will need to incorporate to really maximize your ability with this character. If are familiar with the basics, and want to expand your understanding with the help of a top Ashrah player, make sure to check out our collaboration with DeAdLyxReBeL exploring the best Ashrah has to offer.
ASHRAH guide by [ DeAdLyxReBeL ] | Mortal Kombat 1
However, this text guide is intended to give you a wider scope, and teach how to work up your way up with Ashrah so you can start taking names in Kombat League.
MK1 Command Inputs
Swipe
Ashrah's Gameplan & Specials
Conceptually, Ashrah is a character with only a few truly fast start-up moves. A lot of her powerful attacks require just a few extra frames; the balance comes from just how far her normals can reach, thanks to her sword. Compared to many other Mortal Kombat 1 fighters, she relishes in fighting at medium ranges.
F2, for example, is a 16F start-up and a high, fairly slow, and dangerous, but it's also such a long-range hitting attack that can threaten opponents who might otherwise feel safe to use their slow attacks at a distance. Once you are somewhat close and want to fish for your turn, D4 is Ashrah's best poke at 8F, as it allows her to jail after the move and has enough range to punish opponents from far away without risking getting hit by highs.
For starting your combos and pressuring opponents, you can rely on S1,2,2, which is a 7F startup, and if they block, you can simply drop the string, and it will return you to neutral. You will also want to make use of S2, a 9F startup high with once again deceptively long reach that gives you a very solid 10F advantage on hit. You can also commit to the string, S2,2, as a high-Low it has better chances to cause opponents to miss out on the low block if they try to press after the first one.
When thinking about threats from the air, you can rely on S2 and D2. Both of these have great ranges, though if you want to develop a bias, it's best to go the S2 route as it opens a lot more combo opportunities, and you will already be using it regularly.
Summoning The Darkness
This is a stance-switching move via DB1; it allows you to swap your attacks from Heaven, otherwise known as light or normal mode, to Hell, also called Dark. Ashrah has slightly different special moves based on which mode you are on. you can use this dark stance to stack debuff orbs that orbit your opponent, which then activate on Heaven special moves for extra damage or even combo opportunities.
Astral Projection / Astral Manifestation
Ashrah's Teleport, BF2, has a number of different functions depending on your situation and intention. For starters, it's a good way to cut a gap down, but its slow speed also makes it reachable. You can also hold down 2 and phase through your opponent appearing behind them. When amplified, you will also gain a few frames of armor. Finally you can both cancel it or convert it into a Spirit Slice by holding down during it, dealing a nice chunk of damage.
While you are in Hell Mode, via DB1, you have all the same moves, except this time, the normal ending of the move is no longer an attack, allowing you to teleport and be ready for a follow-up at the same time.
Heaven's Beacon / Hell Pillar
Ashrah's primary projectile move at DF1. It is a very strong mid that can even hit jumping players. It also has very few minus frames, even from up close. It can also help you add more pressure as you can cancel into various normals, which, again, have a fairly long range already. You can Amplify it to extend its range. In Hell Mode this changes to a low, though now you can extend its range simply by holding down 1.
God's Wrath / Demon Wrath
Best used alongside a Kameo to ensure its safety. This is a quick string of attacks that come out from DB2. Its amplified version simply adds more damage to it. Hell Mode is virtually the same, though it does have the added benefit of fully stacking 3 dark debuffs on your opponents.
Light Ascension / Dark Ascension
Ashrah swings her sword up, lifting her opponents into the air with DF3. It is a mid-attack that comes out at 14F. Its amplified version is also great, as it can be canceled into air attacks and combos. It is not as powerful as other moves, but it plays a part in the complex dance of switching between Heaven and Hell modes, as once again, dark mode will stack debuffs unto your opponent.
Specials Table
| Name |
Input | Tips | |
| Summoning The Darkness |
DB1 | Changes between Stances, you will always start with Heaven Mode. | |
| Heaven's Beacon | Hell Pillar | DF1 | Projectile use light for mid, dark for low. |
| Enhanced Heaven's Beacon | Enhanced Hell Pillar | DF1(AMP) | Fullscreen when in light, extra damage when in dark. |
| Astral Projection | Astral Manifestation | BF2 | Light mode has an attack at the end of the teleport. |
| Astral Projection Delay | Astral Manifestation Delay |
BF2(2) | It is good when they have been conditioned to press buttons when you do it from afar. |
| Astral Projection Cancel | Astral Manifestation Cancel |
BF2, BB | Great to avoid always committing to the teleport. |
| Spirit Slice | Spirit Slice |
BF2(D) | Good extra damage that confirms the side-switch. |
| Enhanced Astral Projection | Enhanced Astral Manifestation |
BF2(AMP) | Adds armor for a few frames; note its frames not hits, careful. |
| God's Wrath | Demon's Wrath | DB2 | Good for stacking debuffs if you know it will hit. |
| Enhanced God Wrath | Enhanced Demon's Wrath | DB2(AMP) | More damage |
| Light Ascension | Dark Ascension | DF3 | A mid that keep opponents in check, in case they expect some high attack. |
| Enhanced Light Ascension | Enhanced Dark Ascension | DF3(AMP) | Good combo starter from the air |
Swipe
Ashrah's Best Kameos
Ashrah benefits most from Kameos, which allows her to use her best moves more often. Things like DB1, which is risky at best, can be made much safer by the likes of Goro, Stryker, and Sektor. For a more protective Kameo choice you can go with Sub-Zero, Kung Lao, and Frost, who can provide you extra tools to either go into opponents or facilitate control when one of your attacks comes up short. You can also look to double up on your combo potential with the likes of Sonya and Jax.
There is not one single Kameo that truly gets the most out of Ashrah, so your best path is to experiment and see where you are having trouble, be it in opening up opponents, in playing risky moves that leave you exposed when blocked, or those times when you face a strong zoning opponent.
Goro (Kameo)
Stryker (Kameo)
Sektor (Kameo)
Sub-Zero (Kameo)
Kung Lao (Kameo)
Frost (Kameo)
Sonya Blade (Kameo)
Jaxx Briggs (Kameo)
Ashrah's Bread & Butter Combos
Easy
- S2,1, S4, DB2
- S2,1, DF1, F2, BF2
- S2,1, DF1, F4,2, BF2
- S2,1, DF1, F2, Fatal Blow
Medium
- S2,1, J.2, KAMEO, J.1,2,2, BF2(D)
- Sektor Kameo
- S2,1, DF1, F4, DF3(AMP) S1,2,2, BF2
- F3, DF3(AMP), S1, S4, DF3(AMP), S3, BF2(D)
- F4,2, DF3(AMP), S1,2,2, BF2
This material was created with the support of our Patrons. You can support us!
Become a Patron0