


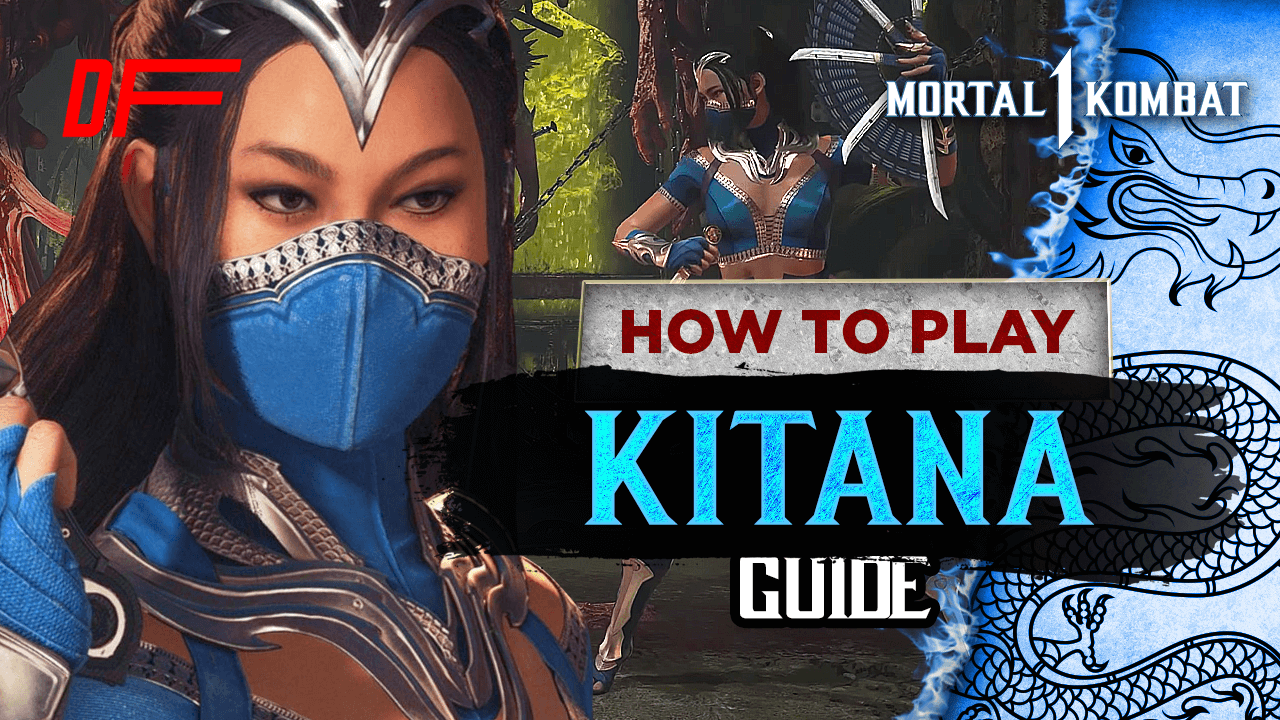

Kitana is a zoner at heart, but for Mortal Kombat 1, she also brings forth a couple of extra tools in the mid-range and a handful of great comb conversions. Although not seen as one of the best characters in the roster, her chemistry with kameos might prove valuable. DashFight partnered with Top NRS player Faysal to give you a complete Kitana guide.


Customize your notifications!
👋 Hey, you haven’t set your favorites yet. Hit ‘Star’ to deal with it anytime.
This material was created with the support of our Patrons. You can support us!
Become a PatronKitana, a core Zoner in mortal Kombat 1, learn how to use all her tools to her maximum potential with the help of top player Faysal.


Kitana's Gameplay Basics
Best Buttons & Strings
- BB: Back-dashing is at the core of Kitana's gameplay. She can backdash from a lot of her attacks and allow you to punish opponents from it, since she does not have a lot of up-and-close moves to do that.
- D4: Can follow up with a backdash.
- S2: Great anti-Air, on hit allows you to get a full combo off it.
- B2: Very long-range mid, great for closing the gap with a dash forward into B2 to transition from zoning. You can also use it after a back dash to whiff punish.
- B4: Great sweep.
- F1,2: Can be a good way to regain your turn, the only problem is that its 12F startup.
- B1,4: Best used in the corner after another pressure string to get a +3F advantage, otherwise since its 2 highs it can be dangerous.
- B3: Good reach and combo launcher when doing B3,4. you can make it safer with a Kameo.
- S2,4,1,2: a very mind-gamey string, you can stop after S2,4 to try to catch them punishing the gap with a back-dash. Or using S2,4 and then grab.
- S4,F3,3: Good stagger, on hit can convert into a combo launcher.
- S1,1: good if you want to punish quickly.
Specials
- BF1: Great damage at range, will often trade.
- BF3: Slow mid projectile that arches up. Because Kitana ducks during it, helping you avoid most projectiles while getting a hit on your opponents. It also serves as an anti-air.
- When amplified it will become a launcher, but more importantly, it stops being interrupted on hit, allowing you to use it for pressure strings.
- BDF4: Sets up a trap. On its own not too powerful, but as part of the zoning kit it can be a great tool to trap people on her zoning.
- DB2: Great Anti-air, it also helps you escape corners.
Best Kameos For Kitana
Kitana Bread & Butter Combos
Meterless
- 31% - S2,4,1,2, DB1, J1, J1,1,2
- 30% - S,2,4,1,2, DB1, J2, B2,4, DB1
- 31% - B2,4, DB1, J1, J1,1,2, DB1
- 27% - B3,4, DB1, J1,1,2
- 27% - F,F3,3, DB1(F), J1,1,2
Corner
- 37% - S2,4,1,2, DB1, S4, DB1, S4, DB1, S4, DB1
Kano
- 40% - S2,4,1,2, KAMEO, BF1(AMP), J2, B2,4, DB1, J1,1,2
- 42% - S2,4,1,2, DB1, S4, DB1, S4, DB1, S4, DB1, KAMEO, S4, DB1
This material was created with the support of our Patrons. You can support us!
Become a Patron0